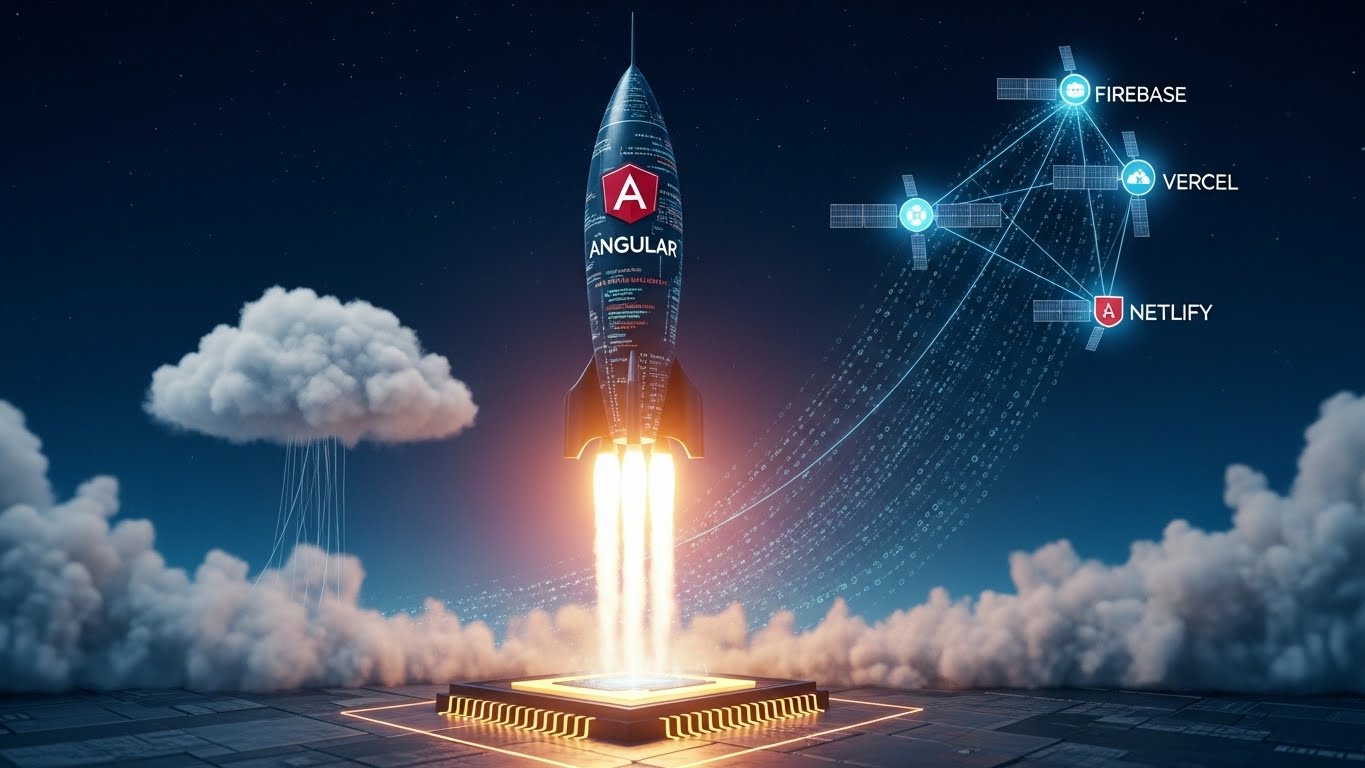
Day 19 — Deployment: Build for Production, Firebase, Vercel & Netlify
📘 Day 19 — Deployment: Build for Production, Firebase, Vercel & Netlify
Zero to Hero — Hands-on Angular Tutorial
Today you will learn:
- ✔️ Building for Production: Optimization, AOT, and bundling
- ✔️ Environments: Managing
developmentvsproductionAPI URLs - ✔️ Deploying to Firebase Hosting (The Google way)
- ✔️ Deploying to Vercel (The Zero-Config way)
- ✔️ Deploying to Netlify (The Drag-and-Drop way)
- ✔️ CI/CD Basics: Automating deployment
You’ve built an app. Now let’s show it to the world. 🌍
🟦 1. Building for Production
In development (ng serve), Angular sends many small files and includes debugging tools.
For production, we need to bundle, minify, and optimize everything.
Run:
ng buildThis creates a dist/ folder containing your compiled app.
Key optimizations Angular performs automatically:
- AOT (Ahead-of-Time) Compilation: Converts HTML/CSS to JS before browser loads it.
- Tree Shaking: Removes unused code (e.g., if you only use
MatButton, it won’t includeMatTable). - Minification: Removes whitespace/comments to reduce file size.
Output:
dist/
  my-app/
    index.html
    main-X23F23.js
    styles-90DF.css
🟩 2. Handling Environments
You usually have a local API (localhost:3000) and a real API (api.myapp.com).
Angular handles this via simple TS files.
Generate Environment Files:
ng g environmentssrc/environments/environment.ts (Dev)
export const environment = {
  production: false,
  apiUrl: 'http://localhost:3000'
};
src/environments/environment.development.ts (Prod)
export const environment = {
  production: true,
  apiUrl: 'https://api.myapp.com'
};
Usage in Service:
import { environment } from '../../environments/environment';

http.get(`${environment.apiUrl}/users`);
When you run ng build, Angular automatically swaps these files!
🟧 3. Deploying to Firebase Hosting
Firebase is perfect for Angular (both are Google).
Step 1: Install CLI
npm install -g firebase-toolsStep 2: Login & Init
firebase login
firebase init hosting
Configuration Choices:
- Public directory?
dist/my-app/browser(Check your actual dist folder name!) - Rewrite all URLs to index.html? YES (Crucial for Angular Routing).
- Automatic builds with GitHub? Optional.
Step 3: Deploy
ng build
firebase deploy
Boom. Your app is live at https://your-project.web.app. 🚀
🟥 4. Deploying to Vercel (Easiest)
Vercel is famous for “Zero Config”.
- Push your code to GitHub.
- Go to Vercel.com -> “Add New Project”.
- Import your GitHub Repo.
- Framework Preset: It usually detects “Angular” automatically.
- If not, set Output Directory to
dist/your-project-name/browser.
- If not, set Output Directory to
- Click Deploy.
Use Vercel if you want automatic deployments whenever you git push.
🟫 5. Deploying to Netlify
Similar to Vercel but supports “Drag and Drop”.
Manual Way:
- Run
ng build. - Log in to Netlify.
- Drag your
dist/my-app/browserfolder onto the page. - It is online instantly.
Handling Routing (404 Refresh Fix):
If you refresh a page like /dashboard on Netlify, it might 404.
Create a file named _redirects in your src/ folder:
/* /index.html 200And ensure it gets copied to build assets angular.json assets array or simply put it in public/.
🟦 6. Testing Production Build Locally
Sometimes bugs only appear in Production builds. Test it before deploying.
npm install -g http-server
cd dist/my-app/browser
http-server -p 8080
Open http://localhost:8080.
🎉 End of Day 19 — What You Learned
Today you went from “Localhost” to “The Internet”:
- ✔️ ng build: Optimized your code.
- ✔️ Environments: Managed API URLs safely.
- ✔️ Firebase: Deployed with Google’s infrastructure.
- ✔️ Vercel/Netlify: Deployed via Git automation.
- ✔️ Routing Fixes: Handled SPA routing (rewrites).
🧪 Day 19 Challenge
“The Production Checklist”
- Create
environment.tsand log “Running in Dev” or “Running in Prod” based on the file. - Run
ng buildand inspect thedistfolder size. - Deploy your app to Vercel (it’s free).
- Verify that refreshing a sub-page (e.g.,
/dashboard) usually works (Vercel configures this automatically just like Firebase).